We mastered the art of at-home manicures and confronted our fear of dyeing our own hair during the COVID-19 pandemic. Now that we’re in a post-pandemic world, many of those at-home rituals are disappearing. But one trend is still dominating my social media feeds, lockdown or not: tinting eyebrows with beard dye.
For what feels like forever, I’ve been seeing videos of people using Just for Men’s Beard Dye ($11) to do a DIY brow tint, and I’ve been impressed. As someone with full brows but bald spots from years of over-plucking, I fill in my brows every single day. The idea of having a solution that could keep my brows dark and full for weeks has always been appealing. But we all know that eyebrows can change your whole face, so the fear of dyeing them too dark or in the wrong shape is very real.
After researching and scrolling through TikTok for hours, I finally decided to try it out for myself. Here’s my review.
How to Dye Your Brows with Beard Dye: The Process

I ordered the light brown dye. I have dark brown hair, so I wanted to play it safe and not go too dark on the first try. If you’re going to try this at home, I highly recommend choosing a shade lighter than you think you need. If I had gone any darker, the result would have been too harsh for my face and would have overpowered my features.
Prep
I started by tweezing my brows to define the shape. This is important because it sets the desired shape and prevents the dye from coloring any stray hair. After shaping, I applied Vaseline along the edges and between my brows. I had seen too many videos where people skipped this step and ended up staining their skin, so I wanted to be safe. The Vaseline acts as a barrier, so the dye doesn’t seep into unwanted areas and makes cleanup much easier.
Mixing the Dye
Next, I took the plastic mixing dish that came with the kit and mixed equal parts of the developer and dye. I’m not going to lie—I didn’t measure exactly; I just squeezed out two pea-sized drops of each onto the dish and mixed them together. The kit comes with a brush for dyeing beards and mustaches, which is bigger than what you need for eyebrows. So, I used a Q-tip instead. This allowed me to control the amount of dye I applied and get into the smaller areas of my brows without making a mess.
Application
I applied the dye exactly where I filled my brows, paying extra attention to the sparse areas. Be gentle during this step. You don’t want to oversaturate the hair and have the dye run. After applying the dye, you only need to wait 5 minutes before wiping it off. However, many videos suggest wiping off the dye from the inner parts of your brows after 2 minutes. This helps prevent a boxy look and maintains the natural gradient of the brows, which is key to a more natural look.
After 5 minutes, I wiped off the remaining product with a wet paper towel and a little bit of soap. I found that using a gentle soap helped remove any remaining dye without irritating my skin. I did go back in to touch up a sparse area that didn’t take as well as I wanted, but overall, the process was super easy and stress-free.
Final Thoughts and Results
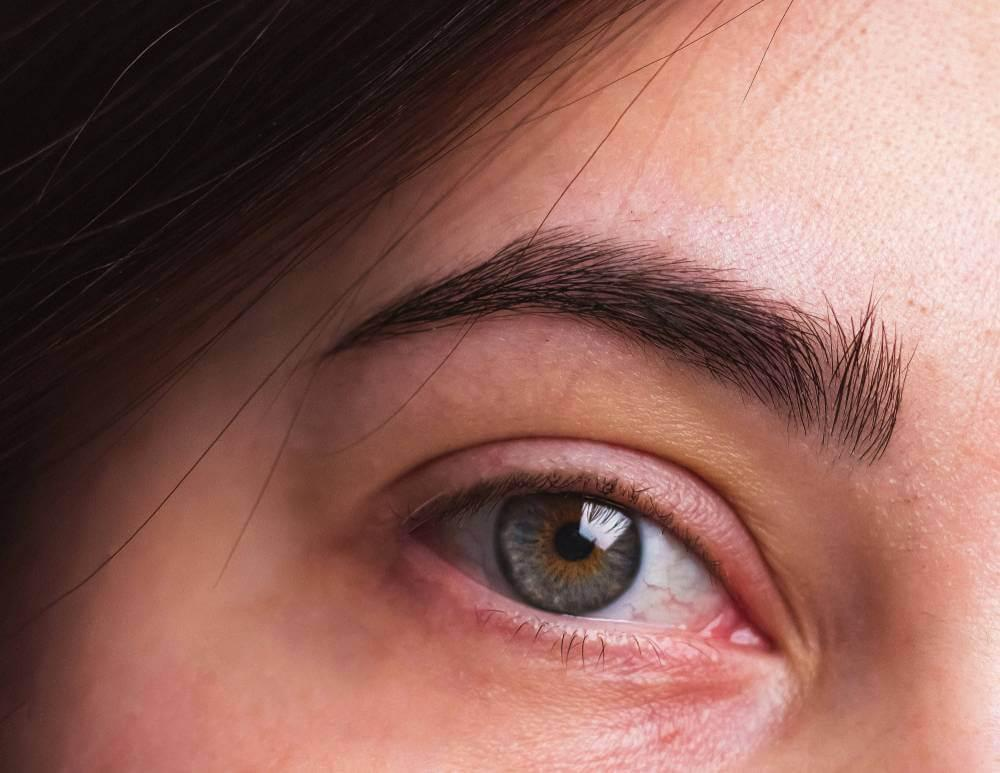
Once I was done with the application and clean-up, I was impressed with the results. My brows looked fuller and more defined, and the color was just right—not too dark, but enough to make a difference. I felt accomplished knowing I did this at home without having to go to the salon.
I felt empowered. I had always been hesitant to dye my brows, afraid I would end up with an unnatural look. But using beard dye was a game changer. It gave me the freedom to try out a look without the commitment of a permanent dye job. And the cost-effectiveness of using a product designed for beards was a big plus.
In the days after dyeing, I noticed my brows held their color well, and I received compliments from friends and family who noticed the change. It’s been a few weeks now, and I’m happy to report that the color has faded nicely, and I have a soft, natural look that still enhances my features.
Is it Safe?

Now I know what you’re thinking—is this even safe? It’s not recommended to use products outside of their intended use, so it’s natural to be concerned if using beard dye on your brows is safe. According to Dr. Jeanine Downie, a dermatologist in Montclair, NJ, “Some beard dye is safe to use all over the face, and some are not.” So, understanding your skin type and the ingredients in the dye is key.
Skin Sensitivity
Dr. Downie cautions people to be careful, especially those with sensitive skin. The skin around the eyes is very delicate, and using products that are not meant for that area can cause reactions. “I would strongly suggest that those with sensitive skin, especially in the thin-skinned area around the eyes, only use a dye that is formulated for the area around the eyes rather than taking a chance,” she advises.
If you have a history of contact dermatitis from any beard or hair dye, your eyes could react very badly, and you could end up with redness, swelling, and itching that could last 5-7 days. This is a big consideration if you’re thinking of using beard dye on your brows.
Before I decided to dye my brows, I researched the ingredients in the beard dye I was going to use and did a patch test on a small area of skin to see if I would react to it. This gave me peace of mind and made me feel more comfortable with the process.
Choosing the Right Product
If you’re going to use beard dye on your brows, you need to choose a product that is free of harsh chemicals and allergens. Look for dyes labeled as safe for facial use or those with natural ingredients. Always read the label and ingredient list to make sure you’re not exposing your skin to anything harmful.
What to Watch Out For?

When dyeing your brows, there are several things to watch out for. In addition to applying a barrier cream to prevent your skin from staining during the dyeing process, you need to do a patch test before use. As Dr. Downie mentioned earlier, this step will rule out any negative reactions to the product.
Patch Testing
Celebrity hairstylist Johnny Lavoy says, “I’m a big fan of Just for Men beard color because of its color range, quick processing time, and the convenience of the application tool (it has a small mixing tray with a little brush for a precise application). Plus, it’s safe for brows. But I always recommend a patch test for the first time use to see if you have any allergy to the product.”
Do a patch test by mixing a small amount of dye and applying a dot behind your ear. If you see redness, swelling, or irritation within 24 hours, don’t use that product on your brows. This simple step will save you from discomfort and ensure you’re using a product that’s good for your skin.
Application Tips
Besides patch testing, here are some more tips to consider.
Skin Prep: Apply barrier cream (Vaseline) around your brows to prevent skin from staining. This will give you cleaner lines and make cleanup easier.
Use the Right Tools: The dye kit may come with a brush for bigger areas, but use a Q-tip or small brush to get more precision when applying the dye to your brows, especially when you don’t want to mess up.
Follow Instructions: Read and follow the instructions of the dye kit. Each product has its own guidelines on mixing ratio, application time, and removal method.
Time is of the Essence: Monitor the processing time. Overprocessing can make the brows too dark or unnatural, so make sure to follow the recommended time.
Post-Dye Care: After dyeing, gently wash the area with mild soap to remove any remaining dye. This will prevent irritation and keep your skin fresh.
The Results
If you’re looking for a long-term solution to filling in your brows every day, I highly recommend trying this hack. I was blown away by the results. The color was rich and natural, and my brows looked fuller without the daily hassle of filling them in.
I have sparse areas in my brows, and this has been a lifesaver. Having tinted brows for weeks has simplified my beauty routine so much. As long as you prep your skin and apply it correctly, you’ll have salon-quality brows in no time.

